Learn MERN in restfull services with node.Js complete guide
Master MERN stack by building RESTful services with Node.js. Learn how to design APIs for scalable applications using MongoDB, Express, React & Node.js .
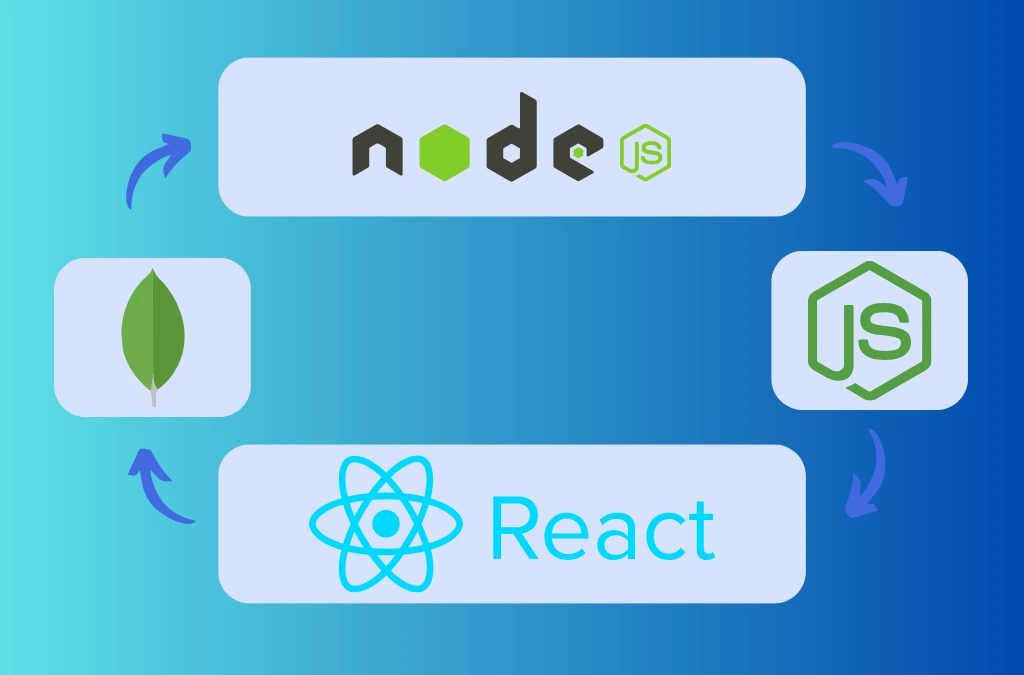
Node.js Express MongoDB REST API
Introduction
Building a [MERN] REST API with Node.js is not only a robust approach for creating dynamic web applications, but also highly effective when combined with MongoDB and Express . In this guide, we will provide a step-by-step process to set up your API. Additionally, we will be using the MERN stack, which includes MongoDB, Express, React, and Node.js. So, let’s get started and explore how to build a seamless REST API
1. Preparing Your Development Environment
Install Node.js and npm
Download Node.js from nodejs.org. npm (Node Package Manager) comes bundled with Node.js.
Install MongoDB
Obtain MongoDB from mongodb.com and follow the instructions for installation based on your operating system.
2. To begin with Your Project
Initialize a New Node.js Project:
mkdir mern-api
cd mern-api
npm init -y
Install
Key Dependencies:
npm install express mongoose body-parser cors express-validator
npm install —save-dev nodemon
express: Simplifies server creation and management.
mongoose: Provides a schema-based solution for modeling MongoDB data.
body-parser: Parses incoming request bodies.
cors: Handles Cross-Origin Resource Sharing.
express-validator: Facilitates request data validation.
nodemon: Automatically restarts your server on code changes.
3. Configure MongoDB
Start MongoDB: On Windows: Run mongod in your command line.
On Mac: If installed via Homebrew, use brew services start mongodb-community.
Create a Database and Collection:
Use MongoDB Compass for a GUI or the MongoDB shell to set up a new database (e.g., mern_db) and collection (e.g., users).
4. Build the Express Server
Structure Your Project:
mkdir src cd src
mkdir config controllers models routes
touch server.js
Configure server.js:
const express = require('express');
const mongoose = require('mongoose');
const bodyParser = require('body-parser');
const cors = require('cors');
const app = express();
// Middleware setup
app.use(bodyParser.json());
app.use(cors());
// Connect to MongoDB
mongoose.connect('mongodb://localhost:27017/mern_db', {
    useNewUrlParser: true,
    useUnifiedTopology: true,
});
mongoose.connection.once('open', () => {
    console.log('Connected to MongoDB');
});
// Routes
const usersRoutes = require('./routes/users');
app.use('/api/users', usersRoutes);
const PORT = process.env.PORT || 5000;
app.listen(PORT, () => {
    console.log(`Server is running on port ${PORT}`);
});
5. Define Your Models
Create a User Model in models/User.js:
const mongoose = require(‘mongoose’);
const userSchema = new mongoose.Schema({
name:
{
        type: String,
        required: true,
    },
    email: {
        type: String,
        required: true,
        unique: true,
    },
    password: {
        type: String,
        required: true,
    },
});
module.exports = mongoose.model('User', userSchema)
6. Implement Controllers
Create User Controller in controllers/userController.js:
const User = require('../models/User');
const { body, validationResult } = require('express-validator');
// Retrieve all users
exports.getUsers = async (req, res) => {
    try {
        const users = await User.find();
        res.json(users);
    } catch (error) {
        res.status(500).json({ message: error.message });
    }
};
// Add a new user
exports.createUser = [
    body('name').notEmpty().withMessage('Name is required'),
    body('email').isEmail().withMessage('Invalid email format'),
    body('password').isLength({ min: 6 }).withMessage('Password must be at least 6 characters long'),
    async (req, res) => {
        const errors = validationResult(req);
        if (!errors.isEmpty()) {
            return res.status(400).json({ errors: errors.array() });
        }
        const { name, email, password } = req.body;
        try {
            const user = new User({ name, email, password });
            await user.save();
            res.status(201).json(user);
        } catch (error) {
            res.status(500).json({ message: error.message });
        }
    },
];
7. Establish Routes
Create User Routes in routes/users.js:
const express = require('express');
const router = express.Router();
const userController = require('../controllers/userController');
// Route to get all users
router.get('/', userController.getUsers);
// Route to create a new user
router.post('/', userController.createUser);
module.exports = router;
8. Test Your API with Postman
Run the Server:
nodemon src/server.js
Testing in Postman:
- GET Request: Access http://localhost:5000/api/users to list all users.
- POST Request: Send a request to http://localhost:5000/api/users with the following JSON payload to add a user:
{
       "name": "thirdearnest123",
       "email": "thirdearnest123@example.com",
       "password": "securepassword"
   }
Conclusion
By following these steps, firstly, you’ll set up a basic REST API using Node.js, Express, and MongoDB. Moreover, this foundational API can easily be extended with additional features, such as authentication. In addition, it can be seamlessly integrated with a front-end framework like React, ultimately enabling the creation of a complete MERN stack application. As a result, you’ll have a scalable and robust solution.